
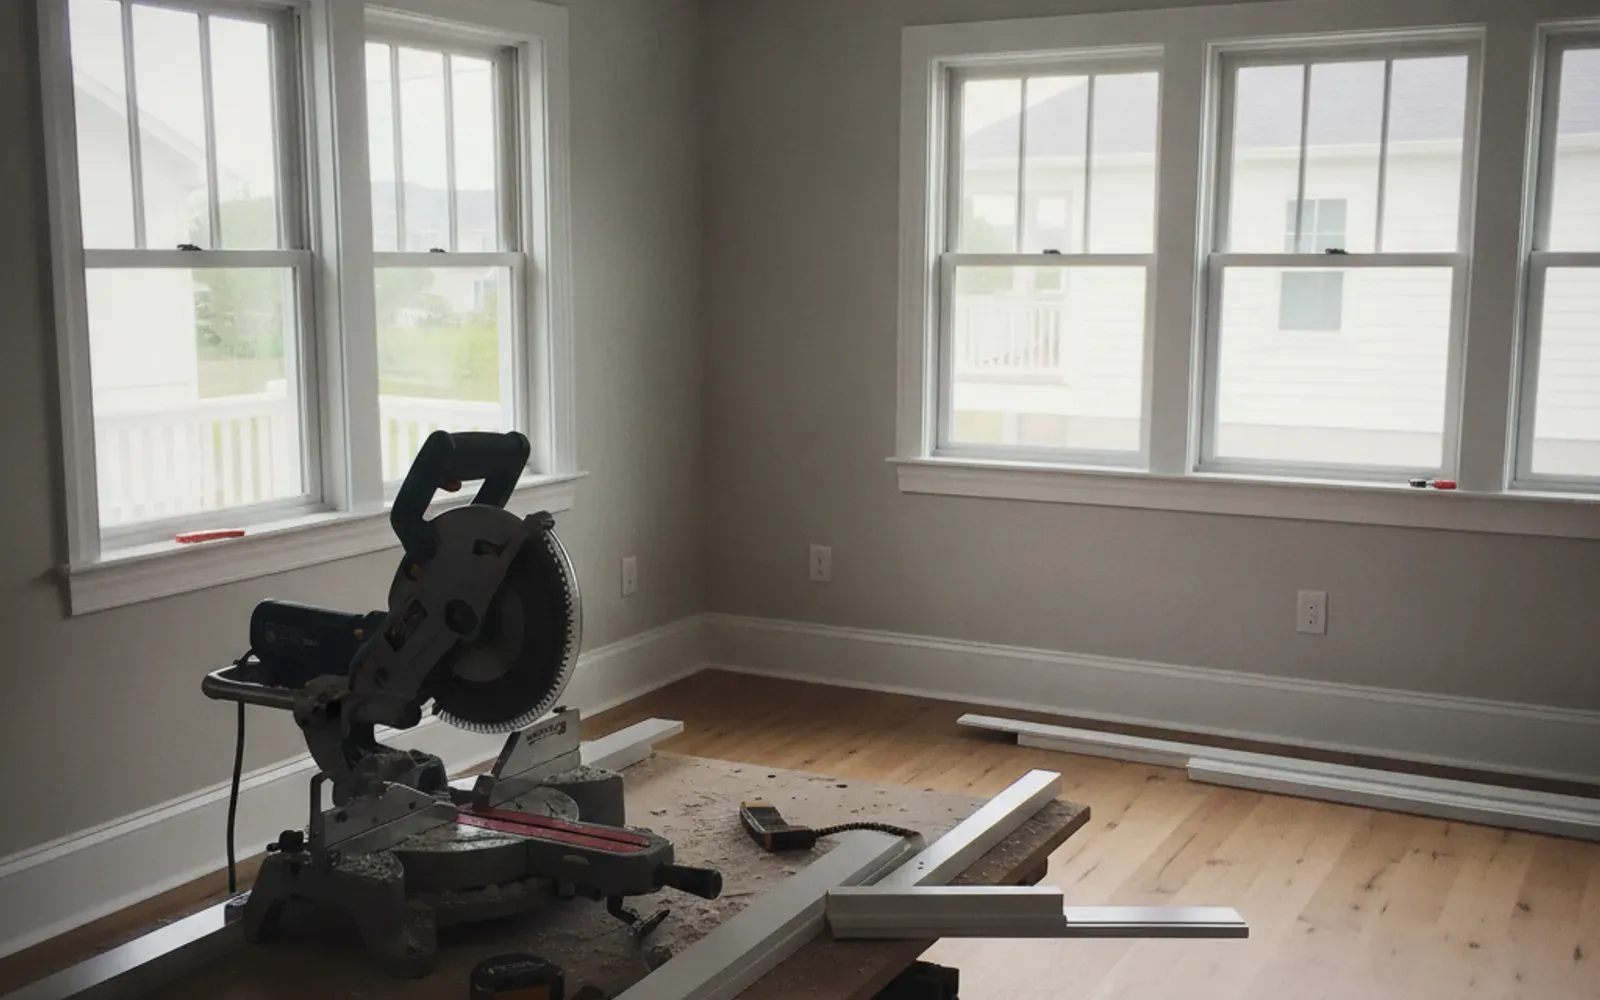
Trim, molding, and baseboard installation in Wilmington, NC is the kind of work that does not get noticed when it is done right — and is the first thing a visitor’s eye lands on when it is done wrong. Gaps at inside corners, open miters at outside corners, baseboard that floats above the floor in the middle of a run, casing that does not line up at the plinth block — these are the small failures that make a room feel unfinished even after significant money was spent on it. Yurii Statkevych has been cutting and fitting trim in Wilmington homes for 15 years, working as the owner and the craftsman on every job.
What Trim, Molding, and Baseboard Work Covers
Trim is a broad category. Most homeowners think of baseboards first, but the full list of interior trim elements is longer and each one has its own installation logic.
Baseboard Installation
Baseboard is the horizontal trim that runs along the bottom of every interior wall, covering the gap between the finished floor and the drywall. It is structural only in the sense that it covers gaps; its real function is visual — giving the room a defined base line that makes walls look intentional rather than just stopping at the floor.
Installing baseboard correctly requires reading the room’s geometry first. No room has perfectly square corners. Inside corners are coped rather than mitered — one piece is cut square to the wall, and the second piece is shaped to the profile of the first, producing a joint that stays tight even as wood expands and contracts with humidity. Outside corners (like the corners of a peninsula wall or a fireplace projection) are mitered and glued. Long walls use scarf joints at an angle to join two pieces invisibly.
Height, profile, and thickness all vary. A builder-grade 2.5-inch colonial base is appropriate for some spaces; a taller, more detailed profile suits period homes and formal rooms. Yurii works with whatever profile you supply or can advise on what reads well in the space.
Crown Molding Installation
Crown molding runs along the junction of walls and ceiling, creating the visual transition between the two planes. It is one of the more technically demanding trim types because it sits at a compound angle — tilting away from both the wall and the ceiling simultaneously — which means the miter cuts are calculated differently from flat trim.
A standard flat-crowned room (no vaulted sections) is a manageable installation for an experienced trimmer. The corners require precise angle calculations, but with a good miter saw and care, inside and outside corners can be cut to fit tightly. Crown adds visual height to a room, makes ceiling-mounted light fixtures look more intentional, and in formal spaces like dining rooms and master bedrooms reads as a considered design choice rather than an upgrade.
For rooms where only part of the perimeter will have crown — a coffered ceiling border, an accent wall treatment — careful planning of where to start and stop the runs makes the difference between a detail that looks designed and one that looks incomplete.
Door and Window Casing
Casing is the trim that frames door and window openings. It covers the gap between the jamb (the wooden frame of the door or window) and the surrounding drywall and gives the opening a finished edge. Casing comes in two basic styles: mitered (where the head casing and side casings meet at 45-degree angles at the top corners) and butted with plinth blocks (where the casings terminate into square base blocks at the bottom and rosette blocks at the top, connected by a flat head casing).
Replacing damaged or outdated casing, installing casing after a new door or window rough-in, or updating all the casing in a house as part of a renovation are all common projects. Matching casing profile to existing trim elsewhere in the home keeps the design coherent — Yurii checks what is in adjacent rooms before recommending a profile.
Chair Rail and Wainscoting Cap
Chair rail runs horizontally around a room at roughly 32 to 36 inches above the floor — originally to protect walls from chair backs, now primarily a design element. It is typically installed as part of a wainscoting treatment where the lower portion of the wall is paneled, beadboard-clad, or painted a contrasting color. The rail caps the transition. Installation requires a clean level line around the room and careful corner work, particularly at inside corners where two capped rails need to meet without a visible gap.
Quarter-Round and Shoe Molding
Quarter-round and shoe molding are the small-profile trims that run at the base of baseboard, covering the gap between the baseboard and the floor surface. They are not always used — a well-fitted baseboard against a flat floor does not need them — but in rooms where the floor is not perfectly flat or where floating floors need room to expand at the baseboard, they cover the necessary gap and give the base a finished look. They are also the right solution when new flooring is installed in a room where the existing baseboards will be left in place.
Why Trim Work Fails — and What to Look For
Most trim that looks bad fails at one of a few predictable points:
Open miters at outside corners: This happens when the miter angle is wrong for the actual corner (which is rarely exactly 90 degrees) or when the wood dries out and the glue joint opens. The fix is a precise angle measurement of the actual corner before cutting, and gluing outside miters in addition to nailing.
Gaps at inside corners: Butt-and-cope joints done correctly stay tight; inside miters open as wood moves and as the building settles. Coping takes more time but produces better long-term results.
Baseboard floating above the floor: When a floating floor is installed after baseboards, the floor surface may be slightly higher than the previous floor, lifting the baseboard away from the new material. Quarter-round or shoe molding covers this gap and solves the problem.
Nail holes that show through paint: Nail holes in trim need to be filled with spackle or wood filler and sanded smooth before painting. Unfilled holes telegraphed through paint — or large dabs of filler not sanded flat — are a sign of rushed work.
Unpainted caulk lines at wall junctions: Caulking between trim and wall is the right technique for sealing the joint and providing a clean painted edge. But caulk needs to be smoothed and painted — raw white caulk on a colored wall looks unfinished.
The Coastal Wilmington Context for Trim Work
Trim in Wilmington homes faces the same humidity-driven stress that all interior wood products do in a coastal climate. Painted MDF baseboards, popular for their smooth painted finish and lower cost, are susceptible to swelling at the base if water gets beneath them — a real concern in bathrooms, laundry rooms, and any room where cleaning involves water near the floor. In these spaces, solid wood or PVC trim profiles hold up better over time.
Moisture-damaged trim — swollen, soft, or delaminating at the base — is a common repair call, particularly in older homes near Carolina Beach, Kure Beach, and Wrightsville Beach where homes may have seen flooding or long periods of high ambient humidity. Yurii removes and replaces damaged trim, checks the wall behind for moisture issues (see drywall repair if the wall itself needs attention), and installs new material with appropriate sealing at the base where contact with floor surfaces could introduce moisture.
Older homes throughout the Wilmington historic district often have original trim profiles that are beautiful but damaged — cracked, painted over dozens of times, or simply deteriorated. Replacing sections to match existing requires identifying the profile, sourcing a close match, and integrating new pieces so the repair reads as intentional. In some cases, where a profile cannot be matched from stock at local suppliers, Yurii can work with a millwork shop to produce a custom run.
Homes in Leland, Hampstead, and Porters Neck are often newer construction with builder-grade trim that homeowners upgrade as part of a refresh — taller baseboards, adding crown to main living spaces, or replacing hollow door casings with more substantial profiles.
What Affects Trim Installation Cost in Wilmington
Trim pricing is primarily a function of linear footage and complexity:
- Linear footage: More rooms, longer walls, and more openings mean more material and more time.
- Profile complexity: Simple colonial or ranch profiles are faster to cut and fit than built-up profiles with multiple pieces or highly detailed millwork.
- Corner count: More corners — inside and outside — mean more cuts and more fitting. Open floor plans have fewer corners; rooms with lots of bump-outs, columns, and transitions have more.
- Ceiling height: Standard 8-foot ceilings are the baseline. Higher ceilings may require ladders and affect staging time.
- Condition of existing walls and floors: Out-of-plumb walls and uneven floors require more shimming, scribing, and fitting time.
- Paint: Caulking is always included. If paint is also requested, that adds time and material.
Get a free estimate — Yurii measures the rooms and gives you a straightforward quote based on what is actually there.
How Yurii Approaches Trim Work
Trim installation is detail work, and detail work requires patience. Yurii measures every corner before cutting — angles that look like 90 degrees often measure 88 or 92, and a cut built on assumption shows. He uses a quality compound miter saw for clean, square cuts and copes inside corners by hand for joints that stay tight. Nails are set below the surface, holes are filled and sanded smooth, and all joints at walls and ceilings are caulked cleanly before leaving.
He works clean — protecting floors from saw dust and debris, collecting scrap material before leaving, and handing off a space that is ready for a painter to walk in and start without having to prep first.
Related Services
Trim work sits at the intersection of several adjacent services. Fresh trim almost always reads best with fresh paint — Yurii can either paint the trim as part of the project or leave a paint-ready surface for your painter. If drywall behind removed trim is damaged or shows old patches, drywall repair squares that away before new trim goes up. New trim after new flooring is the natural sequence — see flooring installation. And trim work is often the finishing step in a broader carpentry or small remodeling project.
Frequently Asked Questions About Trim, Molding, and Baseboards in Wilmington, NC
How much does baseboard installation cost in Wilmington, NC?
Baseboard installation cost depends on linear footage, the profile selected, and the condition of the walls and floors. Simple profiles in rooms with straightforward geometry cost less; taller or more detailed profiles in rooms with many corners or uneven surfaces take more time. Yurii provides free estimates based on actual measurement — contact Yurii to walk through your rooms and get a real number.
How long does it take to install trim in a whole house?
A typical three-bedroom home — living room, dining room, three bedrooms, a hallway, and bathrooms — with standard 8-foot ceilings and no crown molding is generally a two-to-three-day project including baseboards and door casings. Adding crown molding throughout adds a day or more depending on room count. Individual rooms are much shorter — a bedroom with baseboards only can be done in two to three hours.
Should I install new flooring before or after trim?
The standard sequence is flooring first, trim second. New flooring goes in without baseboards in the way, which makes installation easier and cleaner. Then baseboard and quarter-round go in over the installed floor. This is why flooring installers typically remove existing baseboards and leave the reinstallation for a trim carpenter — or why new baseboard is installed after the floor. If you are doing both, Yurii and your flooring installer can coordinate the sequence.
What is the difference between coped and mitered inside corners?
A mitered inside corner cuts both pieces of trim at 45 degrees so the angled cuts meet in the corner. This looks good when the corner is perfectly square and the room does not move — but wood expands and contracts seasonally, and a miter joint opens as material moves, showing a gap. A coped joint cuts the first piece square into the corner and then cuts the second piece to the profile of the first piece — essentially overlapping rather than meeting. When the wood moves, the joint stays tight because the profile overlaps. Professional trim work uses coped inside corners; Yurii does it this way as standard practice.
Can you add crown molding to a room without repainting the whole room?
Yes, but there will almost always be some painting involved. Crown molding needs to be primed and painted, and the ceiling edge where it meets the existing painted surface will need touch-up where the molding was nailed and caulked. If the existing ceiling and wall paint is in good condition and well-matched, the touch-up may be minimal. If the existing paint is old or has been touched up in ways that no longer match, the visible contrast may make repainting more walls worthwhile. Yurii caulks and fills as part of the installation; painting is available as an add-on.
How do you handle trim in a room with an out-of-plumb or wavy wall?
Walls in older homes, and some newer homes with settling or minor construction variation, are rarely perfectly flat or plumb. Baseboard is flexible enough to follow minor wall undulations, and the caulk joint at the top of the baseboard fills gaps where the wall pulls away from the trim face. For wider gaps, a back-bevel cut on the trim face makes the front face press tight against the wall even when the wall surface is angled. Crown molding in a room with a slightly irregular ceiling or wall may require scribing to get the top edge to lie flush. These are standard techniques in finish carpentry — not workarounds, just accurate fitting.
Can you remove old trim without damaging the walls?
Removing existing trim without tearing drywall or damaging plaster requires scoring the paint at the edges first, then using a flat pry bar against a backing block to distribute pressure across the wall surface rather than concentrating it. Trim that has been caulked and painted over many times resists removal more than freshly installed pieces. Yurii works carefully on removal to limit wall damage — if damage does occur, see drywall repair to address it before new trim goes in.
Tight miters, clean caulk, filled holes, and a paint-ready surface — that is what every trim job looks like when Yurii is done. Get a free estimate or contact Yurii to get your project on the schedule.